Showing posts with label Math Concepts. Show all posts

Friday, January 6, 2017

Some Simple Symmetry

Like many of you (I'm sure) I cover symmetry every year with multiple classes/grade levels.  For my third graders, we look at Stonehenge and talk about radial symmetry and do a project.  (Who can forget this horribleness?) I've done symmetrical name designs before and third graders really struggle with block lettering, and so it was really a hassle.  I've done simple designs in the past where students fold square paper into fourths and draw three lines and one shape (which is very successful), but I was a little tired of it.  This year we did our initials, (no block/bubble lettering) and I love them:


We finished these up in December, and I was REALLY needing some winter break (ie I didn't take any "in process" photos because I didn't even think of it).  Here's what we did: students started with a 9 x 9 square piece of paper, and folded it in half, unfolded, folded in half the other direction, unfolded, folded diagonally, unfolded, then diagonal the other direction.  Finally, we folded it all up to a triangle (using the lines we'd made) and drew our initials (just first and last), making sure to go from the bottom to the top of the paper in pencil.  I checked them (making sure their letters were big enough) and then showed them how to fold that to the inside and rub a marker on the back to transfer the graphite.  Done correctly, the letters morph together making a whole new shape:


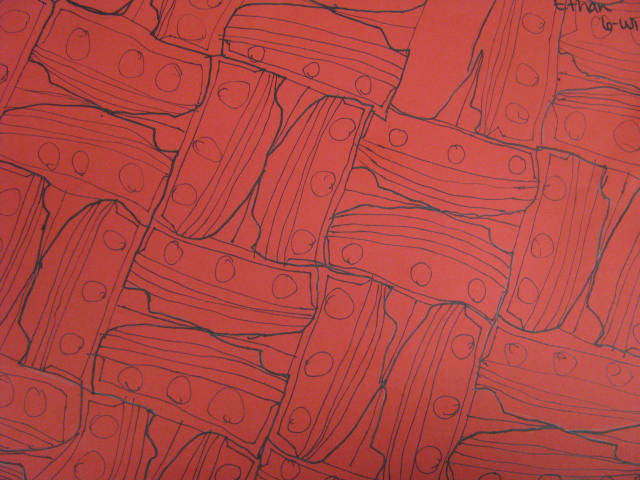
Once all the pencil has been transferred, all pencil lines are traced with permanent black marker.  Finally, neon crayons were used to color a symmetrical design.  I am very happy with how these turned out, and they're brightening our hall:

You'll note this is the same bulletin board from back-to-school.
I say, "Make something that works the whole year!"
You're welcome.

I love how an R made an accidental maple leaf!
One more thing: I did have students glue their finished designs to a 12 x 12 piece of construction paper when they were all done to dress them up a bit (kind of explains the crooked gluing in the above photo). 
Only thing left to do is to post a sign of our lesson objectives asking viewers to try to figure out the students' initials.  Then sit back and wait for the questions that will come from it.
Happy art teaching!

Wednesday, November 18, 2015

Tessellations: Everyone Rotate, Translate and Reflect

It's been a while since I've done tessellations with sixth graders.  I've done my multiplication + Klee lesson many times, but it's been several years since I've spent time on just tessellations.  I use the Tessellations DVD, and I have the posters too.  We watch the whole video (or almost all of it) without working (because otherwise they just copy what he does).  Then we make our tessellation piece using index cards:


And we trace them in our sketchbooks to practice.
This proved vital for later when they "lost" their piece.
Well, go cut one out of your sketchbook--problem solved!
One class (my CWC--class within a class, more SpEd students) did translation tessellations where they just slide:


Tracing with Sharpie.
That group used color sticks (those things by Crayola that are just the colored parts of colored pencils without the wooden part) to color them:


And then they added their henna hands that they'd already made:


Another class did rotation tessellations, which I totally screwed up for them.  I had them make them and practice them in their sketchbooks and trace them on green paper:


The problem came when I tried having them trace them on patterned paper to cut and glue and only after they tried it did I realize it wasn't going to work.  Art Teacher Fail.  So we quickly had to erase and re-trace them with the index lines facing down:


Of the three groups, the reflection group turned out the least best, and it was totally my fault.  Here's some finished-or-nearly-finished reflection tessellations with or without henna hands:


Tessellations are good things, but not figuring out the screw-ups before hand are NOT good.  
The group that did reflection tessellations (the hardest ones because they have to flip the piece their tracing over back and forth) traced them on red paper:


Students could add details with sharpie if they chose.

They then used construction paper crayons to color them (oh my goodness! I love those crayons so very much!!!)


They just finished today, adding their hands:


And then one of my students used the crayons to do this:


--which led to a great discussion about Robert Smithson's Spiral Jetty.

It's been a long, tedious road for my sixth graders, so they're due for a fun clay project next!

Friday, November 6, 2015

An Ode to Masking Tape

Masking tape, oh, masking tape, you bring such joy to me!
Your many purposes are not always clear for all to see
I appreciate your durability and ease of use
You arrive in perfect circles that double as stylish bracelets
You lay so perfectly in my drawer, ready at all times


You perfectly attach scratch boards to quilled frames


Masking tape, how would we ever papier mache without you?
I hope we never have to know


For putting up artwork when there is no cork strip available,
You cannot be beat


When setting up tesselations, you hold the pieces together so well
(And look so lovely stacked on tables)


Masking tape, I'm willing to bet, 
Art teachers everywhere would pledge their love to you.


And now it's crystal clear to everyone why I teach elementary art as opposed to say, high school English.
Happy Friday, friends!

Tuesday, May 5, 2015

Dreaming a Bit Like Marc Chagall

This is a lesson my fifth graders worked on for quite a while.  We talked about Marc Chagall and looked specifically at "I and the Village".  Then we reviewed some simple math concepts.  Students set up their drawings with an acute angle, an obtuse angle and parallel lines.  They could have a right angle and/or perpendicular lines.


Next we talked about dreams we've had.  So many dreams are anxiety related!  I guess I really never thought about it, but after dream dictionary-ing many the students asked about, it makes sense.  Each space was a different dream/weird idea.  We drew with pencil, traced with ultra-fine Sharpie and painted with Biggie Cakes.  Some got further than others:


My plan is (was?) to hand them in the hall for the fourth graders to find our angles and help them with learning/reviewing those math concepts.  But the end of the year is fast approaching and I wonder if it's worth the time to hang them all . . . reality is I'll probably do it anyway!
I do really like how these turned out, even the ones that didn't get all drawn or painted, they're just so interesting.
Pin It