At the last conference I attended (a few weeks ago) I was introduced to tapigami. Which is art made using only masking tape. I showed my sixth graders a video from YouTube, gave them some tape and scissors and about 30 minutes:
These are by no means finished, we've just started. And it's part of a bigger unit on environment, so we'll be working on them for a while. When students are satisfied with their creations, they'll put a layer of Mod Podge on them to seal in the stickness.
We're always looking for something new, right? So go google tapigami and have some fun!
A happy little blog for a mid-career elementary art teacher who's looking for the positive side of life, teaching, and spending her days with people under the age of 12.
Showing posts with label Supplies & Materials. Show all posts
Thursday, October 25, 2018
Friday, September 28, 2018
Sometimes Keeping Things Pays Off
Four years ago, I made gelatin plates with my sixth graders. And it was a disaster. Of pretty epic proportions. So, of course I swore I'd never do it again. But being the hoarder being the art teacher that I am, I shoved them in a box. Today my sixth graders needed to Gelli print over some contour line drawings, and I only have five real Gelli plates, so I pulled them out of the box I'd shoved under a table, and you know what? Those homemade (school made???) ones still work! They were still in one piece, and there was really minimal shrinkage.
Of course, they needed to be melted down, and I made a tiny disaster of that, but still!
Can't wait to get these (newly melted and then set back up) out with my students next week!
Of course, they needed to be melted down, and I made a tiny disaster of that, but still!
| Old gelatin plate that I pulled apart with my hands for microwave melting. |
| Pulled apart pieces in a little plastic container that once held some kind of cards. |
| After melting. Notice the spilled drip. |
Wednesday, September 12, 2018
Student Well Being
Student well being is a rather odd title for a post about a third grade clay project. Let me give you a little back story: last year, in September (the month we're in right now, as it were) a high school girl in our district committed suicide. With a firearm. In the school bathroom. It was shocking to our entire district and made every single one of us stop and think 'do I tell my students I care?' 'Do they all understand how important they are?'
In my particular building, we had that student's youngest sister in fifth grade. In the spring of last year, the fifth grade teacher (of the sister) died. We also had another death last year (of another teacher's husband--it was so quick and unexpected). It was a rough year, and we all needed extra lovin'.
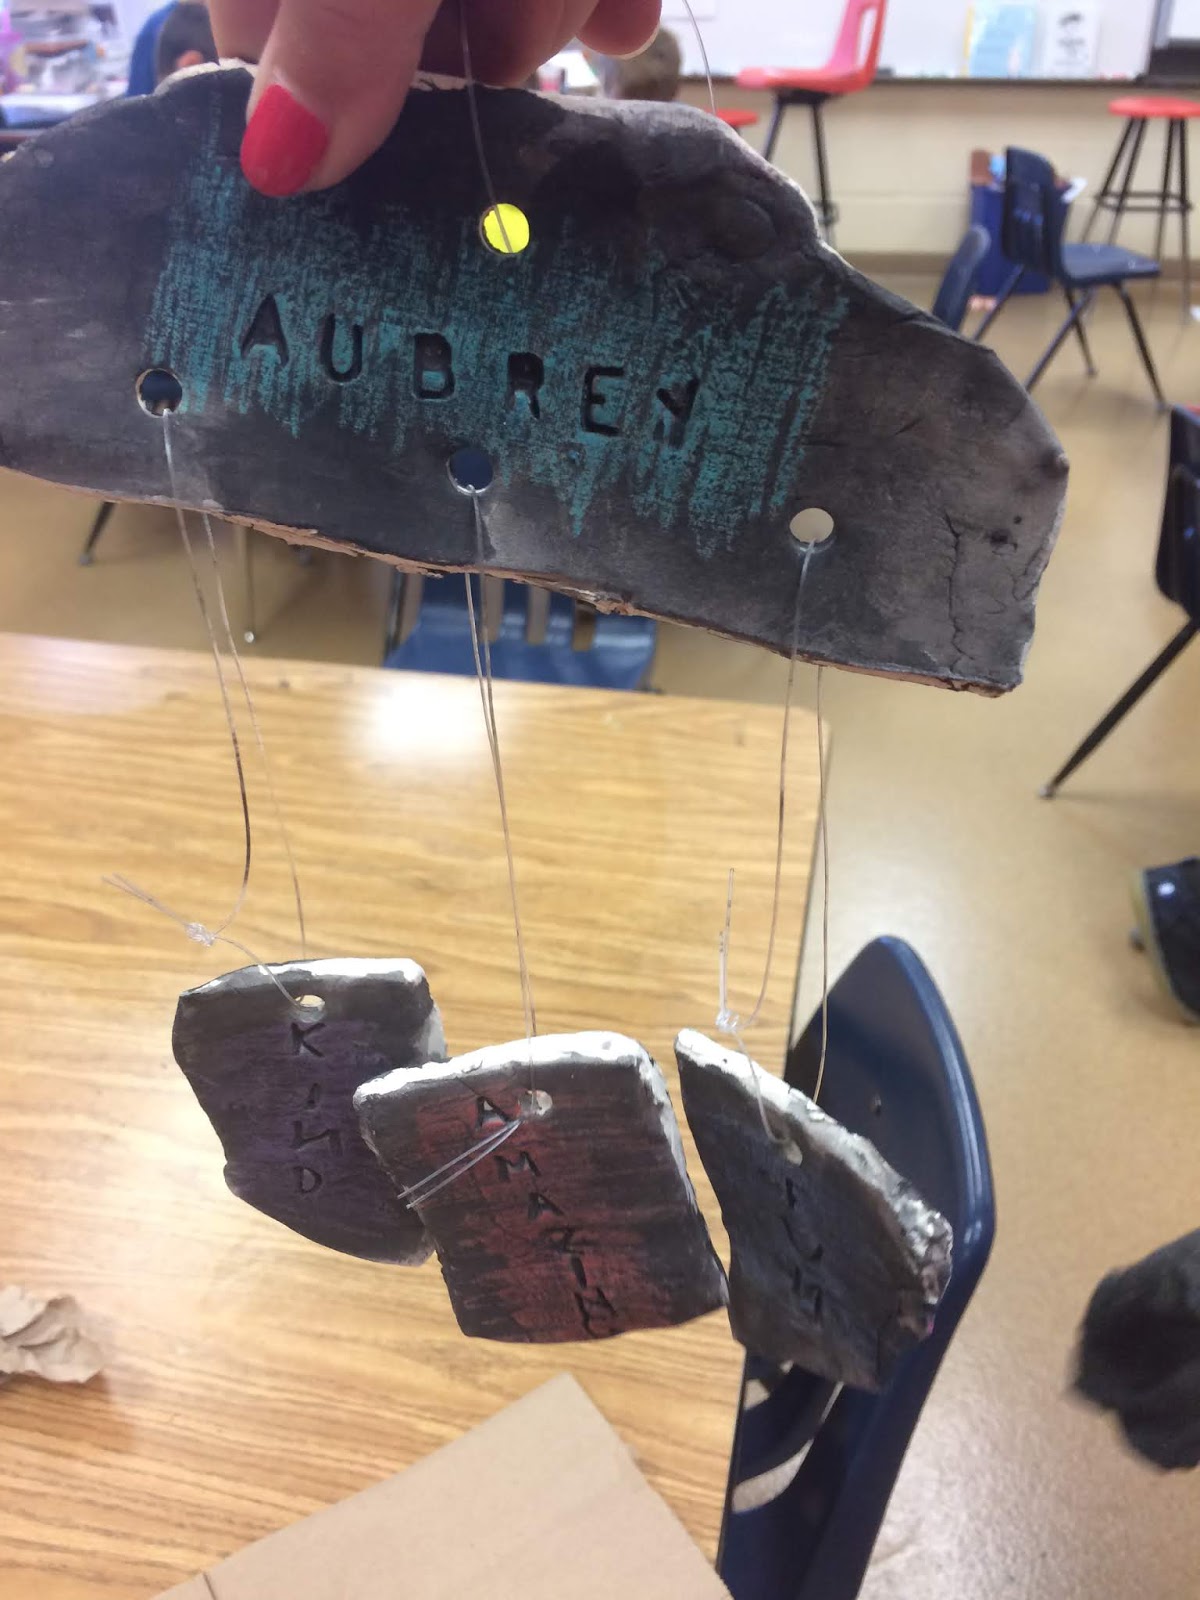
With all of that backstory, if you're a regular blog reader of mine, you know that I never have a solid third grade clay project, and it's usually mid-May before I hurry up and have them make something out of clay. Last year I was overwhelmed with concern for my students and their emotional well being. I wanted something tangible for them to know and see that they are great for being themselves. So, we used clay and monofilament to make these wind-chime-like things:
I had students brainstorm three words to describe themselves and write them in their sketchbooks. We then rolled out clay slabs and cut them into four pieces. We used those rubber texture things (what are those called???) on one side and alphabet pasta on the other. They had to have their name on the top piece, then their three words. I poked the holes as they turned them in, and fired them stacked, with their name on top.
I think I even strung them together before I gave them back to the students. Then they used construction paper crayons and black cake tempera to add color.
This is a project I hope they have hanging somewhere in their home to see. I do love them all (even the behavior challenges) and I don't ever want them to have tragic life endings.
Say good things to yourselves, friends, that positive self talk is important! And tell people good things too, the world can always use more niceness.
In my particular building, we had that student's youngest sister in fifth grade. In the spring of last year, the fifth grade teacher (of the sister) died. We also had another death last year (of another teacher's husband--it was so quick and unexpected). It was a rough year, and we all needed extra lovin'.
With all of that backstory, if you're a regular blog reader of mine, you know that I never have a solid third grade clay project, and it's usually mid-May before I hurry up and have them make something out of clay. Last year I was overwhelmed with concern for my students and their emotional well being. I wanted something tangible for them to know and see that they are great for being themselves. So, we used clay and monofilament to make these wind-chime-like things:
I had students brainstorm three words to describe themselves and write them in their sketchbooks. We then rolled out clay slabs and cut them into four pieces. We used those rubber texture things (what are those called???) on one side and alphabet pasta on the other. They had to have their name on the top piece, then their three words. I poked the holes as they turned them in, and fired them stacked, with their name on top.
| Student work stacked and drying. |
| Pulled out of the kiln and ready to hand back. |
I think I even strung them together before I gave them back to the students. Then they used construction paper crayons and black cake tempera to add color.
This is a project I hope they have hanging somewhere in their home to see. I do love them all (even the behavior challenges) and I don't ever want them to have tragic life endings.
Say good things to yourselves, friends, that positive self talk is important! And tell people good things too, the world can always use more niceness.
| One final view of the back of the first one. |
Monday, September 10, 2018
I've Become The Glue Nazi
Last year, I wrote about my upside down glue. I love it and am never going back! Upside down glue is the way to go!
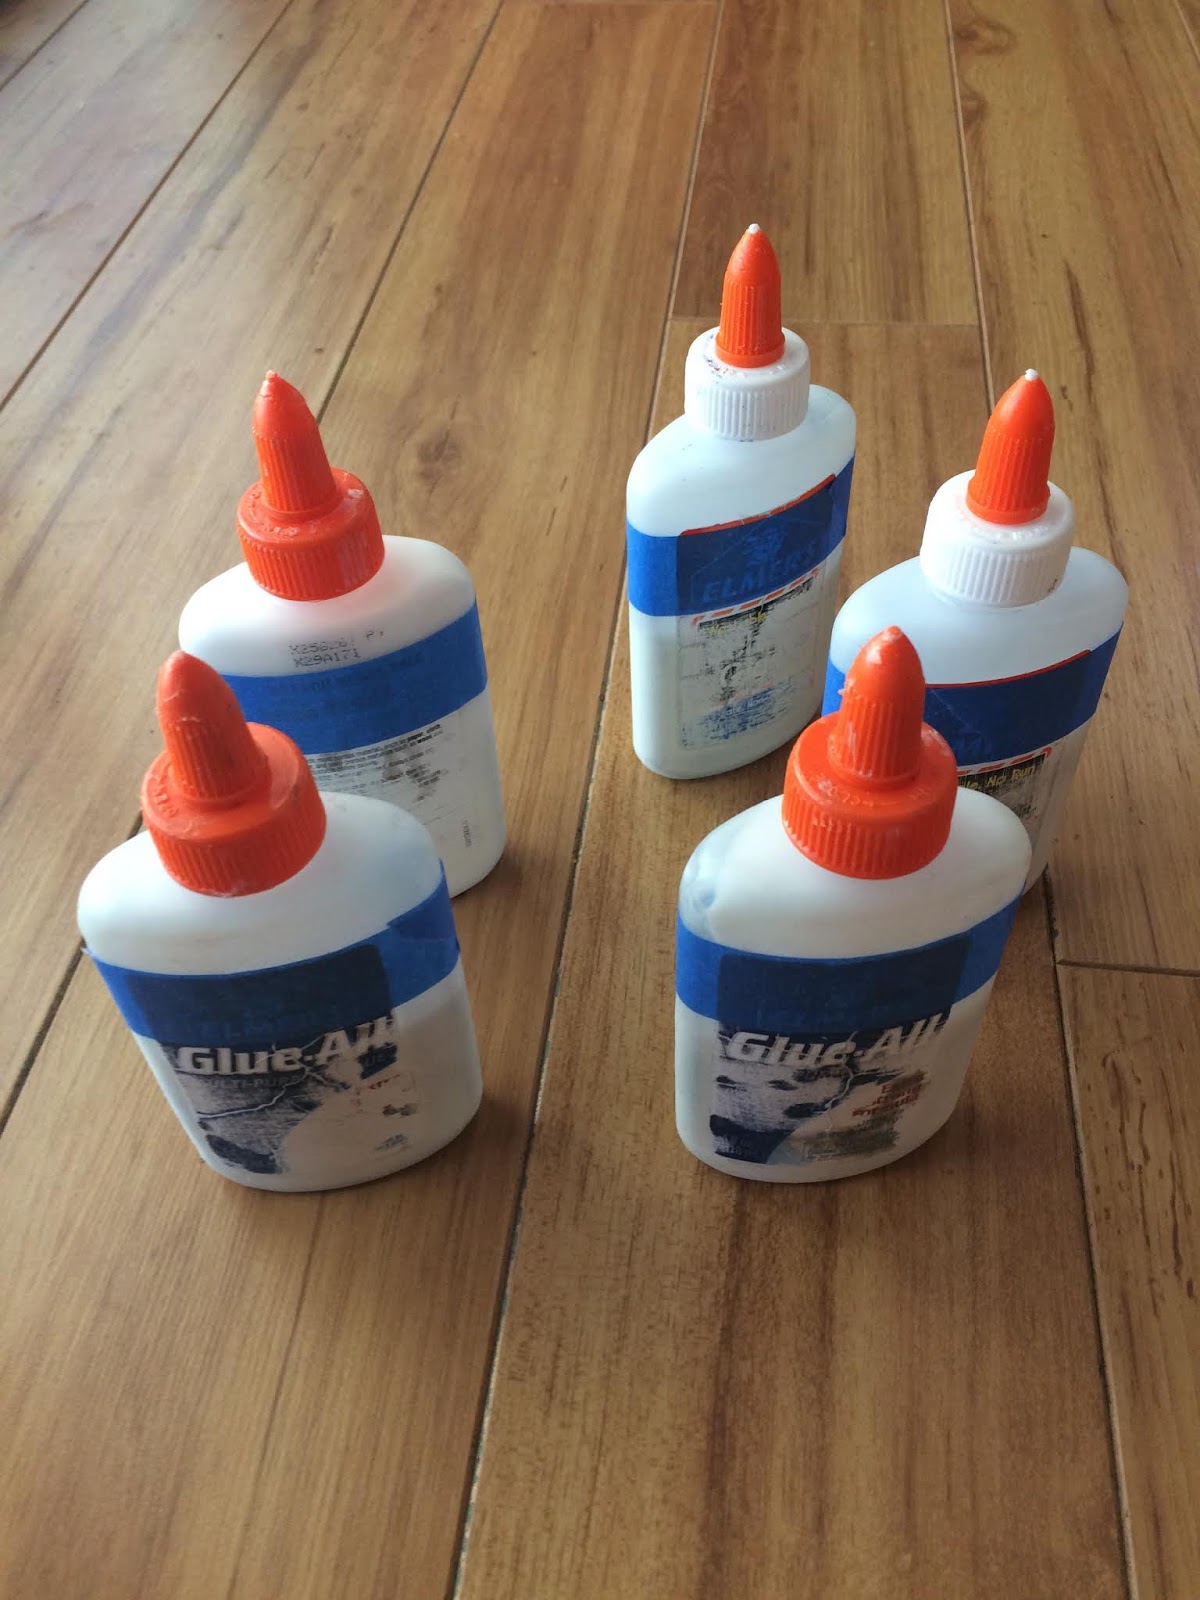
I am way over the slime craze. I can't even deal. I had several glue bottles taken last year (I'm sure to make slime), and I'm over it. I wanted an organizational system so I could--at a glance--see what was missing. I decided to paint my glue bottles to match my tables:
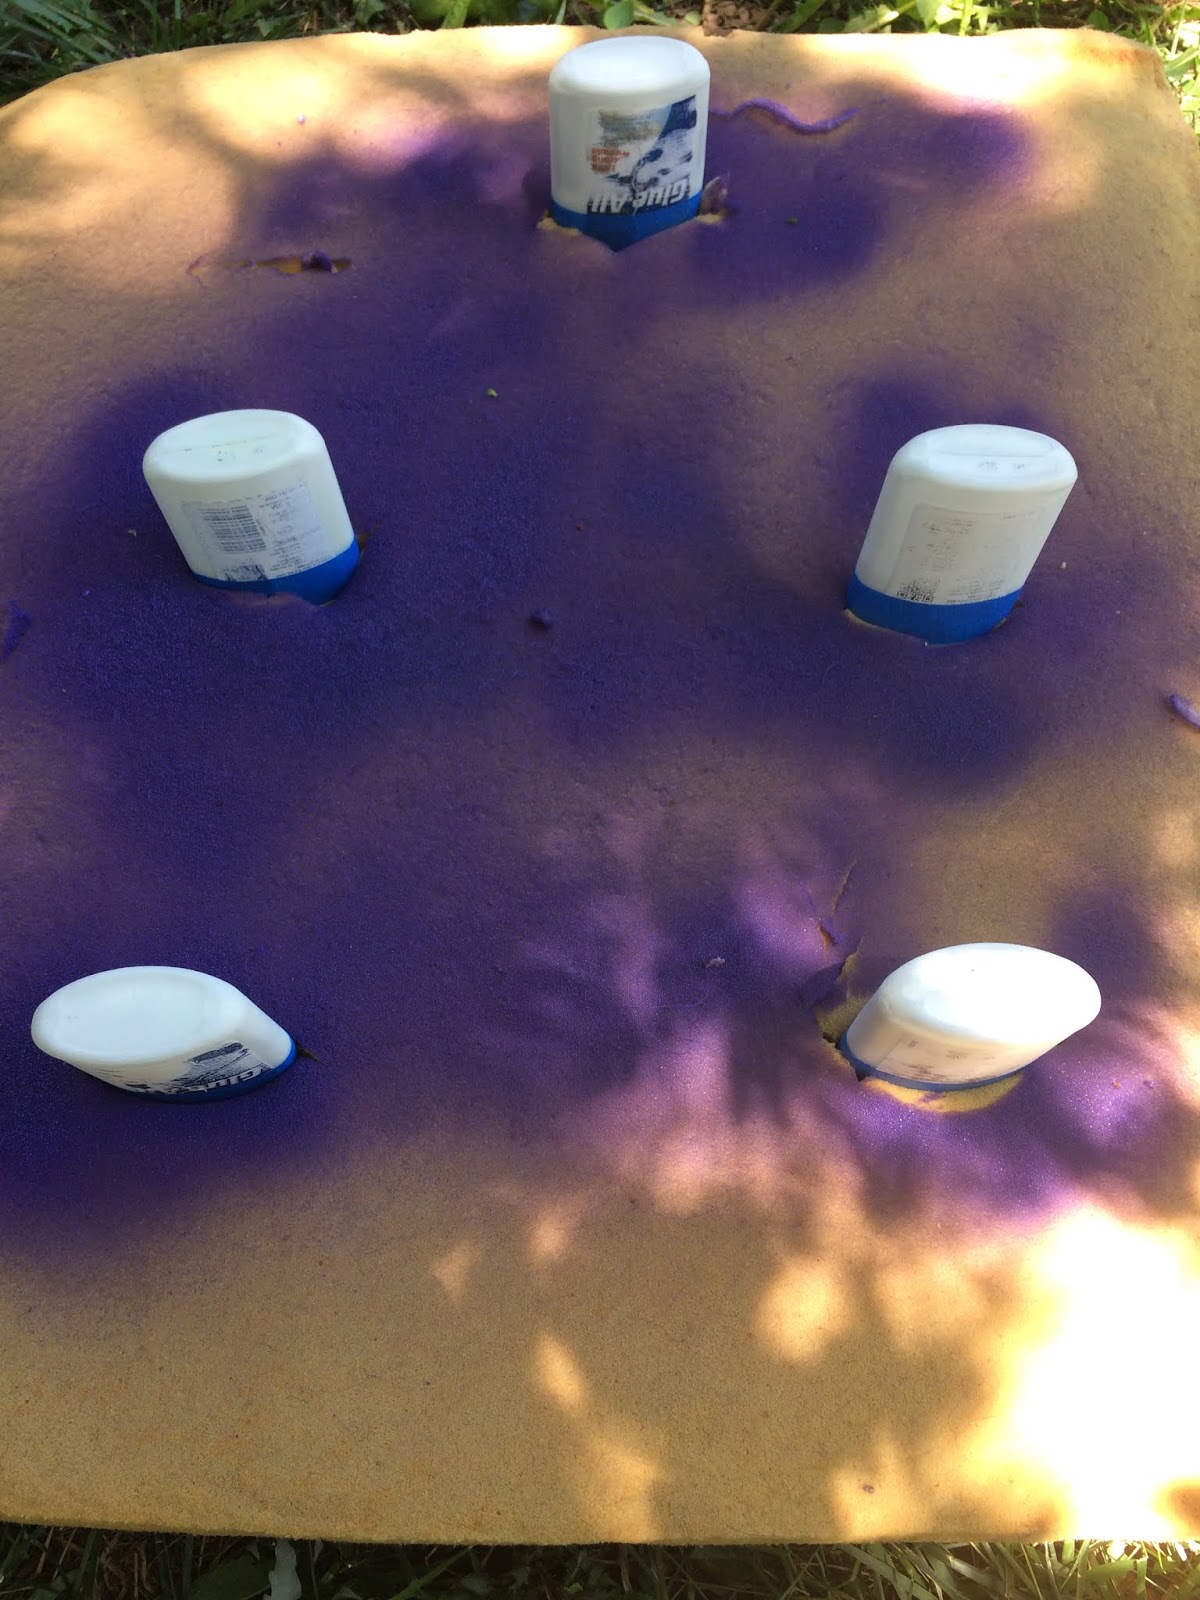
This summer, I did some research and experiments and found that if I sanded the glue bottles with 150 grit sandpaper, then taped and painted them, I could use my E6000 glue to add the magnets.
Here they are hanging (I added color signs in rainbow order):
I won't say it's perfect, here's how it looked after kindergarten the other day:
But it's so easy to snap back into place, and it's a system I'm loving.
I am way over the slime craze. I can't even deal. I had several glue bottles taken last year (I'm sure to make slime), and I'm over it. I wanted an organizational system so I could--at a glance--see what was missing. I decided to paint my glue bottles to match my tables:
This summer, I did some research and experiments and found that if I sanded the glue bottles with 150 grit sandpaper, then taped and painted them, I could use my E6000 glue to add the magnets.
| Painters tape applied at exactly the same spot on each bottle. |
| |
| Pushed into an old foam cushion. |
| Painting in progress |
| After painting |
| I left them outside for an hour or so to fully dry. |
| Peeling the tape off. |
Here they are hanging (I added color signs in rainbow order):
I won't say it's perfect, here's how it looked after kindergarten the other day:
But it's so easy to snap back into place, and it's a system I'm loving.
Wednesday, September 5, 2018
Yarn Bombing Update
I spent many moments this summer crocheting and adding to the tree in my front yard:
It's like a project that I can't just be done with. Also, it appears that I'm terrified of heights only if it doesn't involve being on a rickety ladder on a hill while sewing crocheted circles to a tree. While on that ladder, I feel comfortable leaning very far and balancing on that step that says Don't Step Here Or You Can Lose Your Balance, even when my neighbor yells, "Maybe climbing the tree would be easier?!"
There's always a piece that needs replacing, friends. There's always a little farther I can reach up.
Maybe it's a life-long project?
It's like a project that I can't just be done with. Also, it appears that I'm terrified of heights only if it doesn't involve being on a rickety ladder on a hill while sewing crocheted circles to a tree. While on that ladder, I feel comfortable leaning very far and balancing on that step that says Don't Step Here Or You Can Lose Your Balance, even when my neighbor yells, "Maybe climbing the tree would be easier?!"
There's always a piece that needs replacing, friends. There's always a little farther I can reach up.
Maybe it's a life-long project?
Monday, September 3, 2018
Mini Modern Selfie Tins
Oh, blogging world, it's been so long! The last school year was so hectic with so many classes and so much going on, that blogging got pushed to the back burner. The new year has started, and it's a fresh slate, but first, a project leftover from last year's sixth graders:
This is a project that I was sure I'd blogged about, but I went a lookin' I apparently had not. My original idea was for students to create a snapshot of themselves at this particular moment in time. Thanks to having the perfect art teacher husband, I had plenty of Altoid tins--some the regular size, more of the mini size (which I ended up liking better). To begin, I had each student choose a tin, and trace it four times in their sketchbooks to have a space to try out ideas (one for the top of the lid, one for the underside of the lid, then inside and finally the bottom).
Most chose to do their name for the top lid, and then anything went for the inside.
After the drawing our of their ideas, they had to show them to me and then get a new paper (which caused some complaining). Students used pencil, then watercolor pencils for coloring. Once all the drawing and coloring was done, they cut them one at a time and used Mod-Podge to attach the paper to the tin. After some serious begging on my part, my principal kindly bought ArtResin for my classes (which is on the spendy side, but pretty darn amazing). While she was debating on the purchase, my backup plan was Mod Podge covering all of it, but I don't think it would have worked as well.
Then I had all this "stuff" from years of being an art teacher, years of collecting for "this would be cool" that got put to good use:
So, students added glitter and beads and other items, then we mixed small batches of ArtResin and carefully poured it in to 'set' the items in place. These are so amazing, and I hope students (or their parents) keep them forever for a snapshot of them at age 11 or 12.
This is a project that I was sure I'd blogged about, but I went a lookin' I apparently had not. My original idea was for students to create a snapshot of themselves at this particular moment in time. Thanks to having the perfect art teacher husband, I had plenty of Altoid tins--some the regular size, more of the mini size (which I ended up liking better). To begin, I had each student choose a tin, and trace it four times in their sketchbooks to have a space to try out ideas (one for the top of the lid, one for the underside of the lid, then inside and finally the bottom).
Most chose to do their name for the top lid, and then anything went for the inside.
After the drawing our of their ideas, they had to show them to me and then get a new paper (which caused some complaining). Students used pencil, then watercolor pencils for coloring. Once all the drawing and coloring was done, they cut them one at a time and used Mod-Podge to attach the paper to the tin. After some serious begging on my part, my principal kindly bought ArtResin for my classes (which is on the spendy side, but pretty darn amazing). While she was debating on the purchase, my backup plan was Mod Podge covering all of it, but I don't think it would have worked as well.
| This one had Mod Podge, and it remained pretty cloudy. |
| Oh, glitter, the kids love it, and it makes me crazy. |
| This is a beach, with sand and cut up feathers for seaweed. |
| Cotton balls for clouds, cut up feathers for grass. |
Tuesday, April 3, 2018
Silkscreen 101
This is my second year silkscreening shirts with my sixth graders, and I think I've worked out some of the bugs from last year (though I still have a way to go). Disclaimer: this is what I do and it works for me, but it's not what I learned in college, it's more jerry-rigging things I have around the house. With that in mind, let's get started!
Step one, get some screens:
I had to clean mine out from last year. The kits of emulsion that you purchase come with screen clean-out, but of course I didn't remember that so I just used bleach and a scrub brush. And yes, my bathtub is baby blue.
Step two, coat the screens:
Step three, shoot the screens:
I do this step on top of my washing machine with a simple light from Home Depot clipped to a shelf. I use glass out of a thrift store frame, and a black blanket from my couch. Make sure you lay it on the screen backwards or it will print backwards. Through trial and error, I found 45 minutes works the best for me. At the end of the 45 minutes, I quickly pull off the glass and transparency image (more about that in a minute) and run the screen upstairs to wash out with the sprayer at my kitchen sink. I couldn't take a photo of that because time is of the essence here.
Now, for the transparency image part: I have my students turn in their ideas to me electronically (my district uses Schoology) and then students vote. Once an image or quote is chosen, I have learned to make adjustments (all those fonts they like can be quite distracting!). I then have them printed twice on transparency, and it is VITAL that you tape them together exactly right.
Once the screens are washed out (with the non-exposed emulsion--ie what was under the black sections of the transparencies dropped out) and they've dried you are ready to print.
For the printing part you only need a squeegee and screen printing ink for fabric. I allow my students to bring their shirts in any time, and after they've printed them, they dry in my room. Then I send them home for heat setting with this document.
I'm sure I've left out some need-to-know things, so please comment if something is unclear.
Keep on bein' awesome, art teacher friends!
Step one, get some screens:
| The larger one was purchased from Nasco, the smaller ones I'm borrowing from a friend. |
Step two, coat the screens:
| Just follow the directions on the bottle, mixing the stuff from the small bottle into the large bottle. Have a magnifying glass handy to read the directions if you're over 40 like me. |
| Pour a healthy amount. I do all of this step in my basement bathroom, and I do it with the light on. |
| Spread it around evenly. This is where I had my biggest problems when I began-- in college we use a scoop coater, and I don't have one. |
| Then I found out the squeegee works nearly as well. (Though honestly it's not as even, or it's harder to make even) |
Step three, shoot the screens:
I do this step on top of my washing machine with a simple light from Home Depot clipped to a shelf. I use glass out of a thrift store frame, and a black blanket from my couch. Make sure you lay it on the screen backwards or it will print backwards. Through trial and error, I found 45 minutes works the best for me. At the end of the 45 minutes, I quickly pull off the glass and transparency image (more about that in a minute) and run the screen upstairs to wash out with the sprayer at my kitchen sink. I couldn't take a photo of that because time is of the essence here.
Now, for the transparency image part: I have my students turn in their ideas to me electronically (my district uses Schoology) and then students vote. Once an image or quote is chosen, I have learned to make adjustments (all those fonts they like can be quite distracting!). I then have them printed twice on transparency, and it is VITAL that you tape them together exactly right.
| See this? I had to re-shoot the screen because that corner of text wasn't perfect. |
For the printing part you only need a squeegee and screen printing ink for fabric. I allow my students to bring their shirts in any time, and after they've printed them, they dry in my room. Then I send them home for heat setting with this document.
I'm sure I've left out some need-to-know things, so please comment if something is unclear.
Keep on bein' awesome, art teacher friends!
Wednesday, January 3, 2018
Mini Sketchbooks Just For Fun
Before Christmas I used leftover paper from our calendar project to make mini sketchbooks for all of my second graders (around 80 or so).
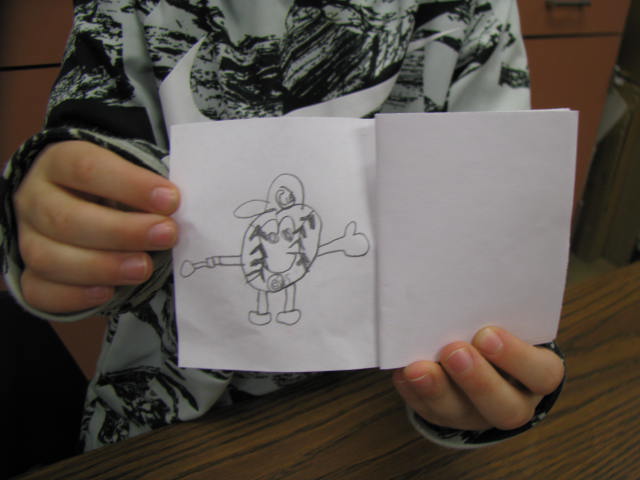
When I cut the calendars to [roughly] 6 x 6, the remaining copy paper is in HUGE stacks. This year I just used my long-arm stapler and made these quick little books for them to have something to draw in the last day before break, rather than start a new project. It worked well UNTIL I got a wicked sinus infection and missed the Tuesday before break. So my second graders that I had today got to draw in them (and take them home) after doing a warm colored painting today (that will be used as a background for some cool-colored buildings later). They were thrilled:
They had so many ideas! "Can we write and draw?" "Can I make this my life story?"
After painting, they really only had 5-7 minutes (which stretched to 10-12 when I totally lost track of time), but it was time well spent!
When I cut the calendars to [roughly] 6 x 6, the remaining copy paper is in HUGE stacks. This year I just used my long-arm stapler and made these quick little books for them to have something to draw in the last day before break, rather than start a new project. It worked well UNTIL I got a wicked sinus infection and missed the Tuesday before break. So my second graders that I had today got to draw in them (and take them home) after doing a warm colored painting today (that will be used as a background for some cool-colored buildings later). They were thrilled:
Wednesday, November 15, 2017
About That Yarn Bombing. . .
A few weeks ago I wrote about being inspired to do a yarn bombing after seeing what happened at fall conference. I kind of wonder what I was thinking, because I thought I'd be able to go home and get it all done. Um, knitting enough to cover a tree takes a while???? And crochet may be faster if you know how to crochet (which I did not). I also didn't have that much actual yarn at home, so it's a work in progress:
I've learned so much. For example, there needs to be some cohesiveness in color or form or something to make it look intentional, and not like you're just some loon knitting a tree. The loon label may still be up for debate (about me) with my neighbors. Also, to keep momentum going, you must have something to knit or crochet with you at all times:
The plan (for now) is to add more crochet'd circles and another knitted scarf-like piece or two around the trunk. It really does add some cheer to my street on gray days (and we've had a lot lately!). I'm hoping for lots of knitting time this winter [read: snow days]. And because I blogged about it to the entire internet, maybe I'll feel some pressure to get it all covered. Either way, look for an update in a few weeks, months, years.
| The upper branch zig-zag piece was a donation from someone's relative. A chain-smoking relative, so it never made it out of the box, PERFECT for outdoor art. |
| Note the crochet circles--they all look like the cups of bras, because I was in the learning-to-crochet-from-YouTube stage, many mistakes are/were made. |
| Obviously, it's still a work in progress! |
I've learned so much. For example, there needs to be some cohesiveness in color or form or something to make it look intentional, and not like you're just some loon knitting a tree. The loon label may still be up for debate (about me) with my neighbors. Also, to keep momentum going, you must have something to knit or crochet with you at all times:
| In my purse at all times for long lines and church. (I tell myself I listen better while my hands are busy) |
Subscribe to:
Posts (Atom)