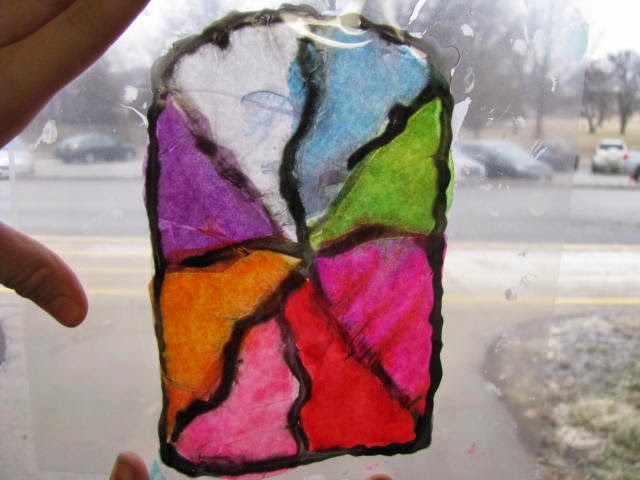
This year I related them to Lorenzo Ghiberti, but they can go along with any stained glass artist. I gave them a template (on paper) and had them create a design with lines. The lines had to touch the sides (not just a shape floating in the middle). I had our copy clerk (we have two, who knew it was a real thing???) save extra bits of lamination and cut them bigger than the paper I gave them. It is important to have them write their names on the lamination film with permanent marker, otherwise you have to match them to the design, and ain't no one got time for that! They then carefully trace their design with black glue (their paper design laying under their lamination):
 |
| This one may be difficult when she goes on to the next step because she has those "floating" shapes. Kind of annoyed with myself for not catching it as she was working on it. |
The final step was to use watered down glue and tissue paper (not the color bleeding kind) to add the stained "glass" part. It is vital that their pieces of tissue paper go from one black line to another, being sure to overlap the black line. I had them use sponge brushes, working a section at a time: watered down glue, tissue paper, more glue (around three layers).
 |
| Held up to the window by a fifth grader helper/hand model. |
 |
| Hers is so bright and vivid because she layered the same colors over each other. |
 |
| And and example of someone who just added random colors until they made "mud." |


No comments:
Post a Comment