 |
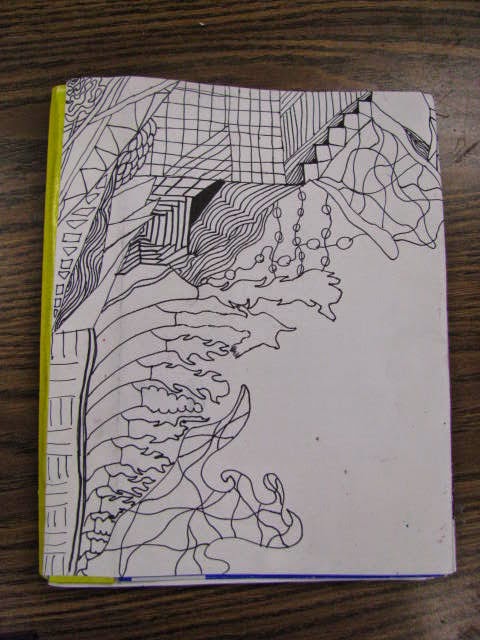
| /This is one class of sketchbooks. The tape on the binding corresponds with the color hanging over their tables. |
Each student gets one cereal box and the color of tape that corresponds to the color of their table. Their responsibility was to fold the box and then wet and stick their tape. This had to be done and allowed to dry before the next step.
 |
| I don't have a brown table, and there's only one class where anyone sits at the black table, so I've got plenty of those colors leftover for another project. |
 |
| Wetting tape. When students got enough water on it the glue really activated making their binding area much stronger. |
Here is another area where Nikki and I differed. She had students measure, mark and cut the slots for their binding. I had students measure and mark, and then took them in groups and drilled them. While all that was going on, students were Zentangle-ing on 12 x 18 white paper with pencils/extra-fine black Sharpies. Next they got groups of paper: 3 groups of 4 pieces 12 x 18 white and 2 stacks of 12 x 18 manilla.We use the manilla paper for ideas and thumbnail sketches and the white paper for notes, and "serious" drawings. These were folded and marked (matching the drilled holes). Then I gave them some stiff cording to bind their books. I demo'd this several times and then they helped each other.
 |
| You can see the diamond cuts for the binding here, but not the stitching. Trust me when I say it's an easy in/out, and all students were successful with this step. |
 |
| No one actually finished their Zentangle, which was fine, because they can add to it during any "down time" or "what-do-I-do-now-that-I'm-finished" time. |
 |
| There is only one photo of the actual "finished" sketchbooks due to being locked out of my classroom with my four year old one Sunday over winter break. Fun times. |


I've been working at my school for the past 5 years and have a TON of these colored rolls of paper. I had no idea what they were until you just posted it! Lol, now I'm going to have to do a book making project to get rid of some of it!
ReplyDeleteGreat! Do let me know how it goes!
ReplyDelete